Prerequisites
Prepare your machine
- Android Studio with support for Android Gradle Plugin 9.3.
- Gradle JDK 17 or newer; Android Studio’s bundled JDK is a practical choice.
- Android SDK Platform 37, Build Tools 36.0.0 and Platform Tools.
- Internet access on the first Gradle sync.
- Your own Android signing keystore and Firebase Android configuration files.
Open the outer app/ folder—the one containing settings.gradle.kts—as the Android Studio project. The inner app/app/ is its application module.
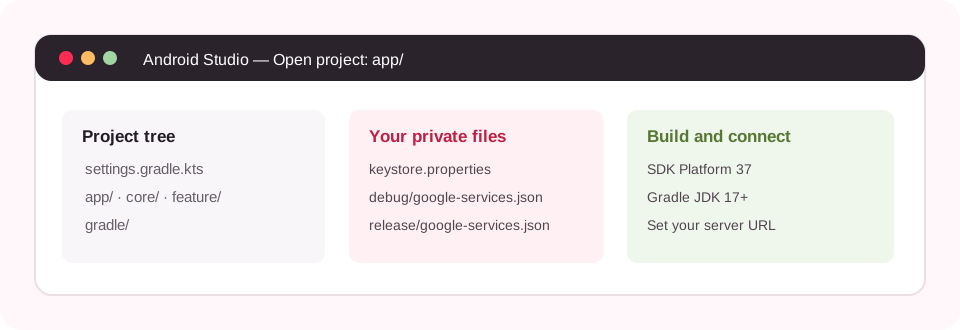
Private files
Add your signing and Firebase configuration
Create a keystore you control
The project checks for keystore.properties during configuration, even for debug builds. In the outer app/ folder, create a secure keystore using Android Studio’s signing wizard or keytool. Keep the original keystore and passwords backed up privately: losing them can prevent future signed updates.
mkdir -p app/signing
keytool -genkeypair -keystore app/signing/your-release.jks -alias lomi -keyalg RSA -keysize 3072 -validity 10000
Create keystore.properties in the same folder as settings.gradle.kts:
storeFile=app/signing/your-release.jks
storePassword=YOUR_PRIVATE_PASSWORD
keyAlias=lomi
keyPassword=YOUR_PRIVATE_PASSWORD
Replace the placeholders. Never publish the keystore or properties file.
Add your Firebase files
The Gradle project applies the Google Services plugin. Register the Android package IDs com.amixmon.lomi.debug and com.amixmon.lomi in your Firebase project, then place each downloaded google-services.json at:
app/src/debug/google-services.json
app/src/release/google-services.json
These files are intentionally absent from the buyer ZIP. They contain project-specific public identifiers and must belong to your Firebase project.
Sync and build
In Android Studio, install the SDK components, select the Gradle wrapper and your JDK, then sync the project. To make a debug APK from a terminal in outer app/:
./gradlew :app:assembleDebugOn Windows use gradlew.bat. The APK is under app/build/outputs/apk/debug/.
Connect the app
Point debug builds to your server
First confirm the server health check in the server guide. The address depends on where Android is running:
| Android target | Base URL for a local Docker server | Extra step |
|---|---|---|
| Android emulator | http://10.0.2.2:8080/ | No USB forwarding needed. |
| USB-connected device | http://127.0.0.1:8080/ | Run adb reverse tcp:8080 tcp:8080. |
| Public server | https://your-domain.example/ | Use valid HTTPS and the matching server origin. |
For a terminal build, override the base URL at build time:
./gradlew :app:assembleDebug -PapiBaseUrl=http://10.0.2.2:8080/For Android Studio’s Run button, temporarily set apiBaseUrl in the outer app/gradle.properties, sync, then run. Use only the origin plus trailing slash; do not add /v1. Release builds require HTTPS:
./gradlew :app:assembleRelease -PapiBaseUrl=https://your-domain.example/Feature scope: Connected account, profile, publishing, feed and messaging paths use the Go server. Consult the feature documentation and test the exact user journeys you plan to launch.